
When a new 3CX extension is created for you, you'll receive a welcome email with everything you need to get set up. This guide walks through setting your account password, logging into the 3CX Web Client, and — importantly — enabling browser notifications so you're alerted to incoming calls and chats even when the tab isn't in focus.
Step 1 — Set up your account
-
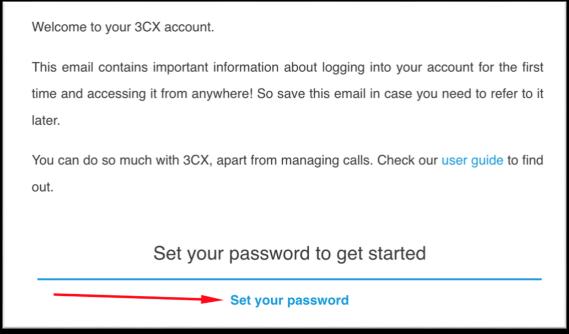
Open the email titled "Welcome to 3CX | Your Account Details" (or "Your User Account on your New 3CX System"). Check your spam folder if you don't see it.
-
Click the blue "Set your password" link inside the email.
-
Enter and confirm a strong password, then click "Change Password" or "Set Password".
-
Click the Web Client URL from the same email (usually labeled "Outside the office"), then log in using your email address or extension number as the username, along with the password you just created.
ℹYour Web Client URL is specific to your company — it looks something likehttps://yourcompany.3cx.sc:5001. Check your welcome email for the exact address.
Step 2 — Enable browser notifications
Browser notifications make sure you see incoming calls and chats even if the 3CX tab is in the background. It's worth setting these up right after your first login.
-
Log in to the 3CX Web Client and look at the top-right corner for the bell icon.

-
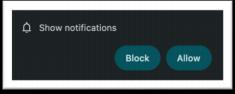
If the bell icon shows a warning, click it — you'll see a note that notifications aren't enabled yet, with an Allow link.

-
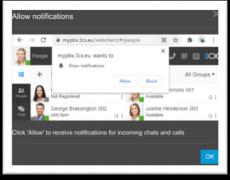
Click Allow when your browser prompts you to enable notifications for the site.
If the bell icon already looks normal with no warning, notifications may already be enabled — but it's still worth double-checking your browser settings below, especially the first time you set up a new computer.
Google Chrome
- Click the three dots in the top-right corner of Chrome, then select Settings.
- Go to Privacy and Security > Site Settings > Notifications.
- Under "Allowed to send notifications", click Add.
- Enter your 3CX Web Client URL and click Add.
- While you're there, confirm the overall setting is "Sites can ask to send notifications" (or "Use quieter messaging") — not "Don't allow sites to send notifications", which would block the prompt entirely.
Microsoft Edge
- Click the three dots in the top-right corner of Edge, then select Settings.
- Go to Cookies and site permissions > Notifications.
- Under "Allow", click Add and enter your 3CX Web Client URL.
- Turn on Startup Boost under System and Performance so Edge can keep delivering notifications even when the browser window is closed.
One more thing — check your operating system
Even with the browser configured correctly, Windows and macOS have their own notification settings that can silently block everything. Check Windows Notification & Actions settings or macOS Notification settings and make sure your browser is allowed to show notifications and banners.